Showing posts with label Printmaking. Show all posts

Monday, May 27, 2013

Its been tough but nearly there

Several times thought of giving up, missed a couple of classes, rested more and only 4 weeks more - i will only enrol in 1 class per week from now on.  Have nearly finished making frame, drawing starting to improve again, finally got a screen print to work and in next week's last etching class he will show me how to photo etch the sleeping child drawing that worked well in screen printing - i was disappointed with results of hand etching which came out to lightly and he couldnt tell me why (the lines on the paper showed i pressed hard enough and i left in acid long enough.)  It's anoisy dirty class so glad it's ending.

Screen print worked so printed on test paper, good textured paper, cotton, vests then went toclass storeroom to take off one ofmy tops to print on as screen emulsion may have disintergrated by next time.  Got to use urea this time to thin some ink. Fortunately it was oderlous and clear.
Overdid the neck tendons.
Model on left is amateur is amatuer actor and so loves bringing in costumes which normally annoys me, but this time they dressed brilliantly to copy 'The Card Players'.

Friday, May 3, 2013

This weeks classes

Tuesday Etching 

Too tired after visiting 2 galleries.  No place to sit tho teacher did try to help.  Printed out both plates. First time wrong side up, top pics, second time correct darker lower pics.  I knew he told me to take out of acid too soon and i can see i was right as they are too feint.  One on the right disappears top left and bottom right.  He is now going to show me how to work on plates further using stop out varnish, more acid, reprinting, and so on.  I see others been working on plates for months. I dont have patience for this.  Its dirty hard work in chaotic envirnoment and i am glad only 5 weeks left.  


Left - etching done on soft ground, top too light as i put plate into press wrong way up.   Right - etching done on hard ground, not long enough in acid.


Wednesday Screenprinting

 I forgot to take pics of processes as i promised.  Will try to remember next week.

Most people used 2 screens.  i thought easier to put more on one.  But this makes it difficult when it comes to printing.  Also i used the machine alone, as teacher was busy, to develop the emulsion.  After 1st time i thought it hadnt worked so did again and eneded up with blurred double development on the left hand side which had moved.  The right hand side, the hands had stuck to screen so didnt move, thus worked ok.  Next week will try 2 screens, a water bottle, and a pattern.  

One good tip a student told me (i will take pic of this) - print first part of design on see thru acetage when you have screen locked into print board, mask tape this to the board that hold the screen.  Then you can position your material under this printed acetate, fold acetate back out of the way and then pull down screen and print next part of screen.


Right and middle - 2 prints on calico.  Managed to match up 2nd colour, red, even tho i didn't have registration marks on screen because teacher hadnt told me to do it before developing screen.
Left - several drawings that are blurred because i accidentally double developed - on calico.


Bottle design for next week - one screen (should really be 2 if want to print quickly.  Left - background colour with a river,  for bottle label.  Print this first then print bottle on top.  Registration marks can be seen as crosses top and bottom for matching these two parts.


(Will add pattern design here when i design it in photoshop hopefully this weekend.)


Thursday - frame making with lovely old Silvio.  

Half class didnt turn up, given up on the chaos I guess.  Even though less of us, he kept disappearing, helping advanced students, and doing paperwork.  So we chatted - we have agreed that we will learn one thing each week and not worry about it.  This week we planed our sawn mitred ends, and learnt to use clamps to glue frame together.  Left frames to dry.  Next week paint, stain or wax frame and maybe importantly, cut mount board.  B&Q have manual mitre saw for about £20 and electric £50 and the clamp for £12.  Getting the type of planer he uses more difficult.  He says about £150.  This helps you improve your sawed ends, slither by slither so that angle of cuts are right and fit together better.  My sawn angles, even with the mitre saw, were quite a bit out.  I am glad  I have made frame before cutting mount card as I don't have to be perfect measurement wise.


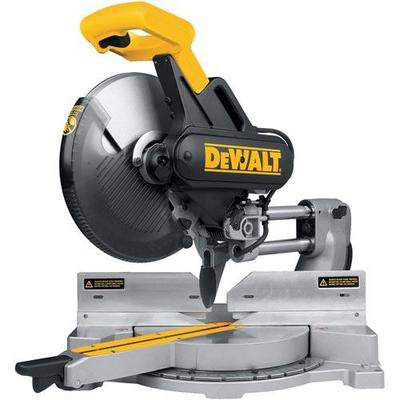
Manual mitre saw £18-22
Electric mitre saw  starting at £50


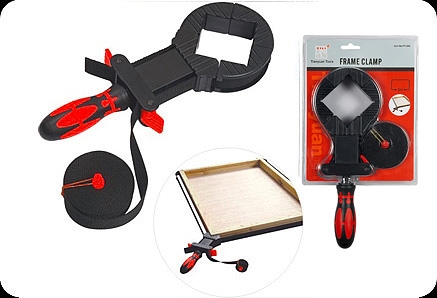
Framing clamp holds frame together while glue dries.  £12


Mitre planer - this one bigger than one we use.  I need to think and investigate on youtube etc about whether i can use normal planer perhaps in mitre box or something else as i certainly dont want anything big or expensive.

Still waiting for Amazon delivery, then more creative colour play - dying my crappy looking greying hair which I have left for far too long because too tired every time I remember to do it.  Just like plucking my tash & eyebrows and shaving nose hairs with nose shaver,  I remember it when I look in the car mirror in bright sunlight when it looks much worse than in my dull bathroom.  I now keep pluckers in bag and have been known to pluck in car, in the disabled bay, in Trafalgar Square.  The tourists think its performance art I'm sure.  Just realised its 6pm.  I could have gone to school and been back in time for delivery.


Friday, August 17, 2012

New Post digital printmaking book


Must go to bookshop  to look into this book - sounds interesting.  Will update this post then.  
Around £22.


The Blurb
This groundbreaking book establishes Post-Digital Printmaking as a distinct area of printmaking practice both technically and conceptually. Radically different from digital print production (inkjet on high-quality paper), Post-Digital Printmaking integrates Computer Numeric Control (CNC) devices such as laser cutters and CNC routers with matrix production for lithography, intaglio and relief. This contemporary practice incorporates the strengths of both digital and traditional, resulting in hybrid printmaking techniques.

A comprehensive and accessible technical introduction to this important area of printmaking, this book explains techniques and processes in detail, discusses the contexts within which Post-Digital Printmaking has arisen, and includes examples and case studies of artists applying these hybrid techniques in their work.

Sunday, August 5, 2012

Fabric Dying/painting/screenprinting / couldn't resist some Neocolour II - Watersoluble Wax pastels

Yesterday I received another inspiring and enlightening post from my friend Kim's blog and since I was at Atlantis Art near Brick Lane I decided to take pics of their fabric dying/painting solutions so I could compare web prices when I got home and at some point do further investigations - i will link this post to an update post at some point.


For more of this post:  kim its all about me -  i-dyed-this-week-but-lived-to-tell-tale

Kim's post on DIY screen frame is also very useful: kimitsallaboutme - screen-printing-for-cheapos
 
         ---------------------------------------------------------------------------------------------------


Atlantis Art - Fabric Colour

The first picture is the fabric dye section and the rest were next to it in the screen printing section.
Kim's post makes the good distinction - fabric paint makes fabric stiff while fabric dye/inks sinks into the weave leaving fabric feel as it was.

Atlantis art are currently creating an online store but for now you can get their latest catalogue here: http://www.atlantisart.co.uk/cat2011.html.

The links below to the manufacturers sites give descriptions for their products uses.

         ---------------------------------------------------------------------------------------------------

Permaset

 Permaset site - the benefits of water based inks in fabric printing : http://www.permaset.co.uk/

Atlantis Art Fabric paint section - Permaset waterbased screen-printing inks.


Screen Printing Ink - white, very large - assume you can colour this


Artists Acrylics - Screenprinting Gel (not sure of brand)- I think this is the stuff we used in class - about 2-3 tablespoons of this with a minute sprinkle of very strong powered colour was enough for a few screen prints.

         ---------------------------------------------------------------------------------------------------


Speedball


Photo emulsion to develop a photo onto your screen for printing


Speedball also make the Dizo brand - Packet version


         ---------------------------------------------------------------------------------------------------


Dalery-Rowney System 3 screen printing acrylics

Their website for more info: daler-rowney.com/en/content/system-3-range


System 3 Textile Medium for screen printing - various mediums available in various brands to extend colour, make more transparent, extend drying time etc.
Screen block for painting directly onto screen to block out areas you don't want ink to come through.
The Price -£11.99
System 3 Removable Screen Block - This sounds fantastic - 'System 3 Removable Screen Block (a removable coating medium). When the printing liquid has dried through, the screen block material (coating medium) can be applied with a rubber print blade. After the coating has dried, the print can be washed with cold water, thereafter the screen is ready for the print. After printing, the screen can be washed with soap and hot tap water and re-used.'
Screen Drawing fluid - Direct block-out or “Negative Method”) Using Screen Filler is another simple means of preparing a screen for printing. The screen filler is used to block out those areas that you do not wish to print. This allows the ink to be forced through the screen wherever the Screen Filler has not been applied.

---------------------------------------------------------------------------------------------------

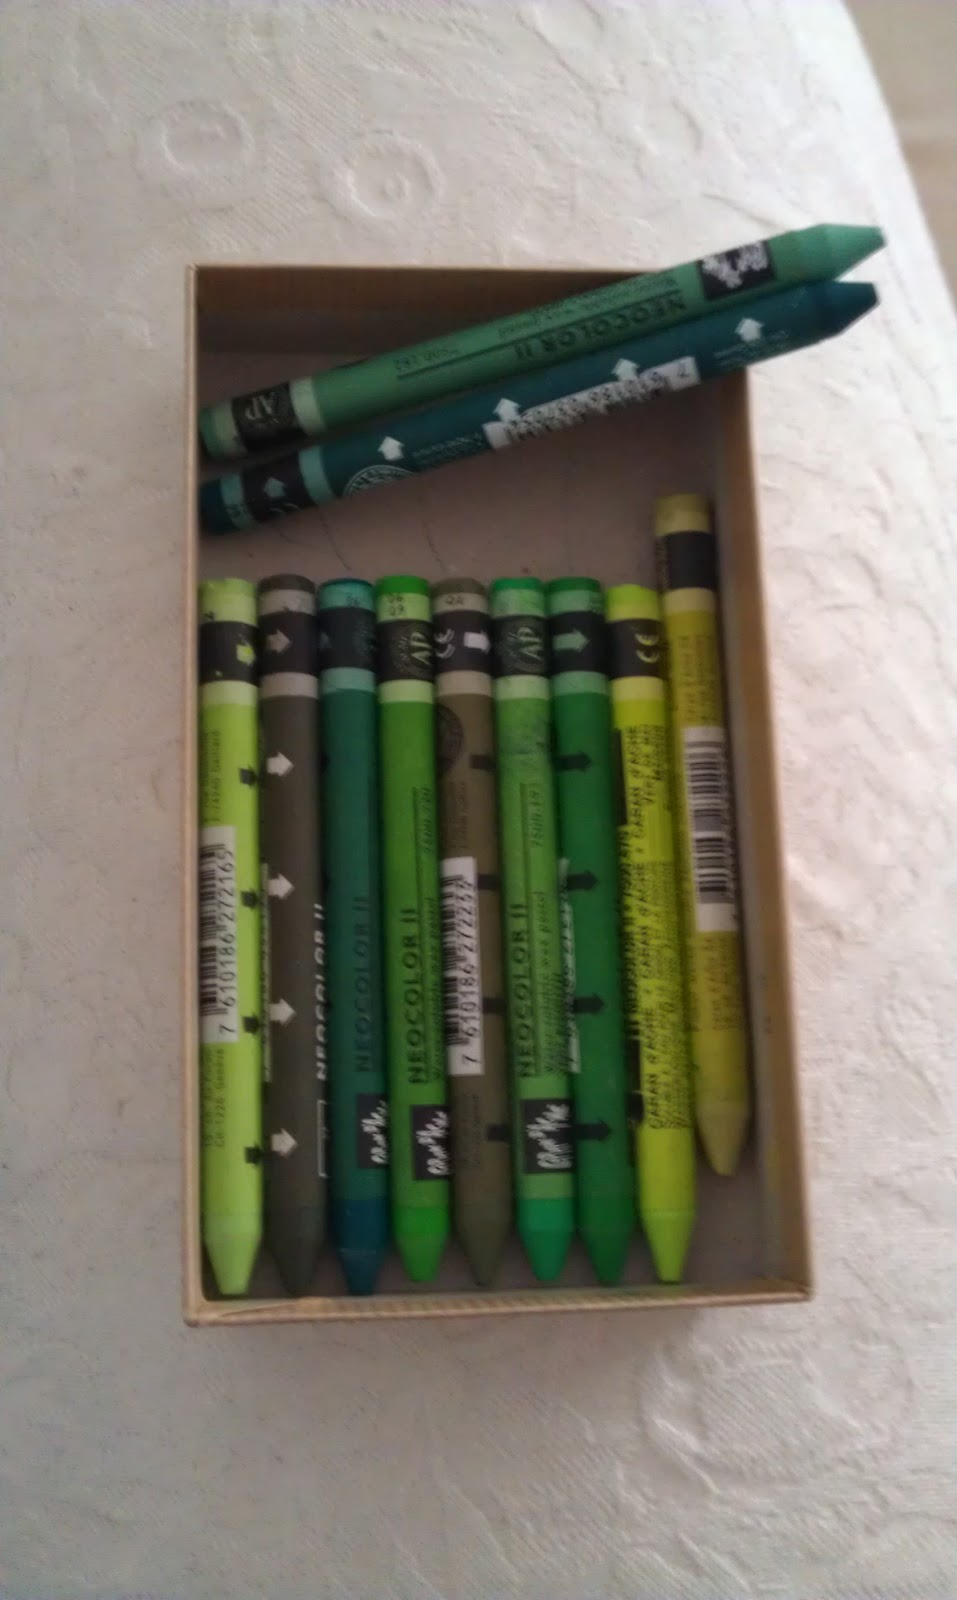
Neocolour II - Watersoluble Wax pastels

I couldn't resist buying some more watercolour pastels.  They are lovely and soft and so many wonderul colours.  I bought lots of greens this time.  I feel a green field coming on.


Friday, August 3, 2012

Poppy Teffrey - St Ives Desinger

I found this designer in St Ives Cornwall and I get her e-newsletter.  I have added her to my fav sites today.  I love her sweet simple design.

 http://www.poppytreffry.co.uk/


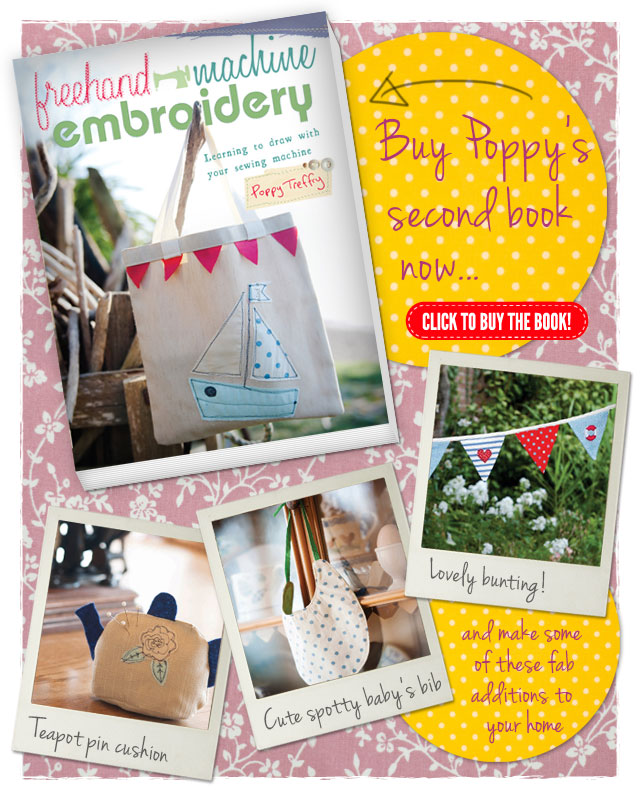
She has just published a book.


Monday, August 8, 2011

Print making 4

Paint a picture on metal plate with ink or oil paint then place wet paper on top rub on back.

that's all folks

Print making 3

Linocuts i found really difficult.  It's the reverse of what you think will be printed hence i cut out wrong things sometimes.   I also couldn't bring myself to destry the linocut to do mulitple colours - you cut some out, print, cut out more, then print with diff colour etc etc.  If i can find it i will show an incredible artist mad version of this technique.

This first one is copy of the window in the church in Trafalgar Square.


the following shows how i cut out wrong bits -but i still like it a bit


2 etched flowers


Printing done by gluing things on card - textured collaged, aplying ink, laying on paper and putting thru press.  It can give you an embossing too.


Print making 2


3 monoprints - drawing on back of sheet lain on inked metal/glass sheet


The following are done by placing inks on metal then wiping ink away for light areas, drawing lines into the ink and perhaps adding colours, then placing sheet on top and printing (putting thru the press which i'd like to have but i have seen friend who just leaves under lots of books for days).  You can sometimes get a second or third print but they will be pale - see second woman's face, i also added colour before printing again.


the following one is french term i can't remember - collage and printing at the same time.

The following are done by scratching into polystyrene.  The first one - 2 prints, the styren sheet was cut into different segments so i could leave out some segments for second print.


etching copied from da vinci